From Zero to Analog Purist (almost) - Interview with Ben Frank
Brief chat with a self-confessed darkroom print addict and analog photography evangelist.
1. You’re a relative newcomer to film photography, but if someone sees you’re workflow and understanding of darkroom work, they’d think you have many years of experience. Briefly, can you share your introduction to analog photography and your swift shift from digital to film?
My father was an avid film shooter and while he moved on to digital eventually, he always missed the analog workflow. I wanted to surprise him with a film camera and got him a TLR for Christmas, 2013. Turns out that camera came as a bundle with another TLR and so I walked into Yodobashi camera in Shinjuku (Tokyo) and bought myself a roll of TMAX100. It all started snowballing from there. I had no idea how to develop film, what chemicals are needed or even how to load the damn thing into the camera. When I saw the first results though I knew I was hooked once and for all and a couple of months later I sold all my digital gear and invested the money in analogue equipment.
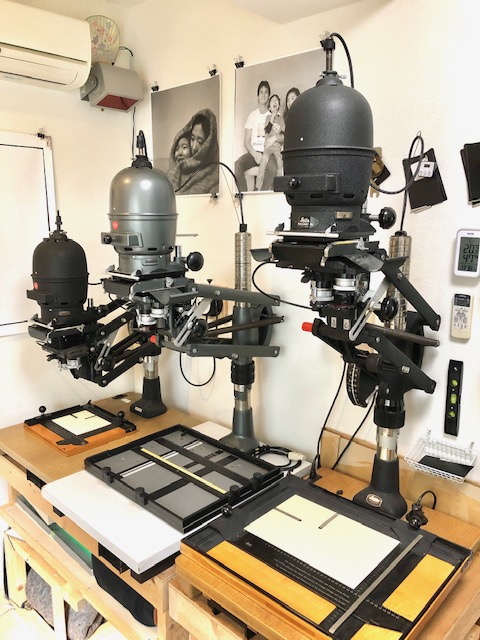
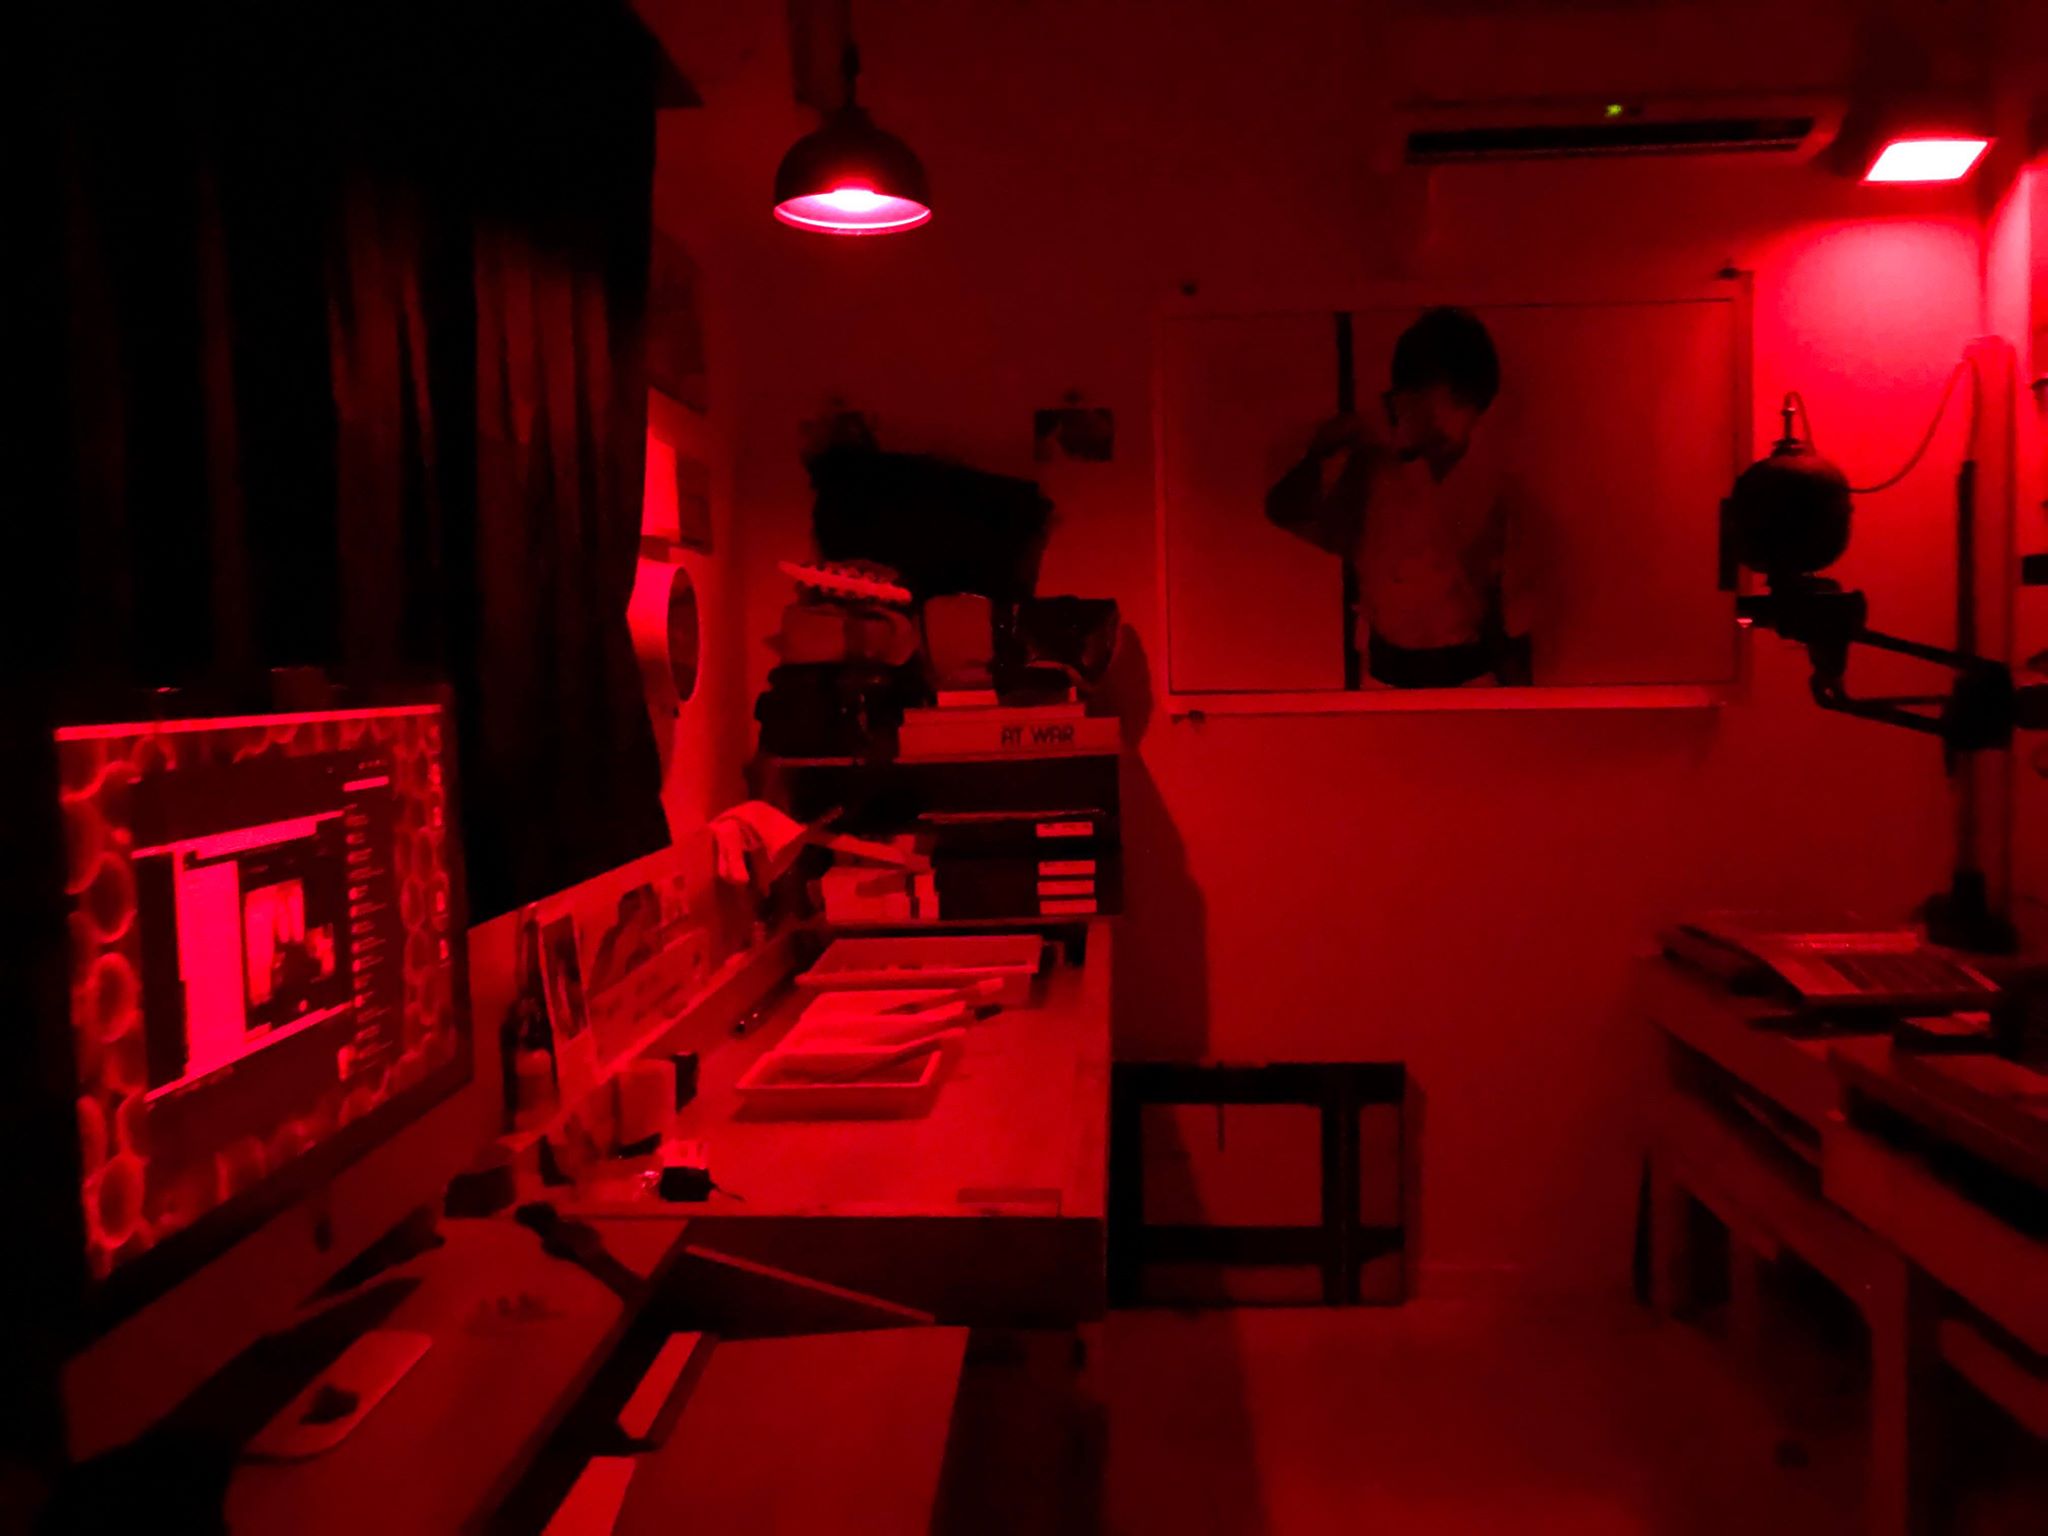
I was scanning my film at first but one day with a friend we decided to do an exhibition and he brought me to a rental darkroom to print our photos. A few weeks later I was already printing like a real addict in my bathroom with a tiny enlarger and I knew I wasn’t going to stop there. A few years down the line I have a purpose built darkroom and can print whenever I like, day or night, it’s much easier this way.


2. You like to experiment and explore both black and white and color film processing and printing. What are some common, debatable things we tend to hear about analog printing, and what “revelations" have you personally experienced?
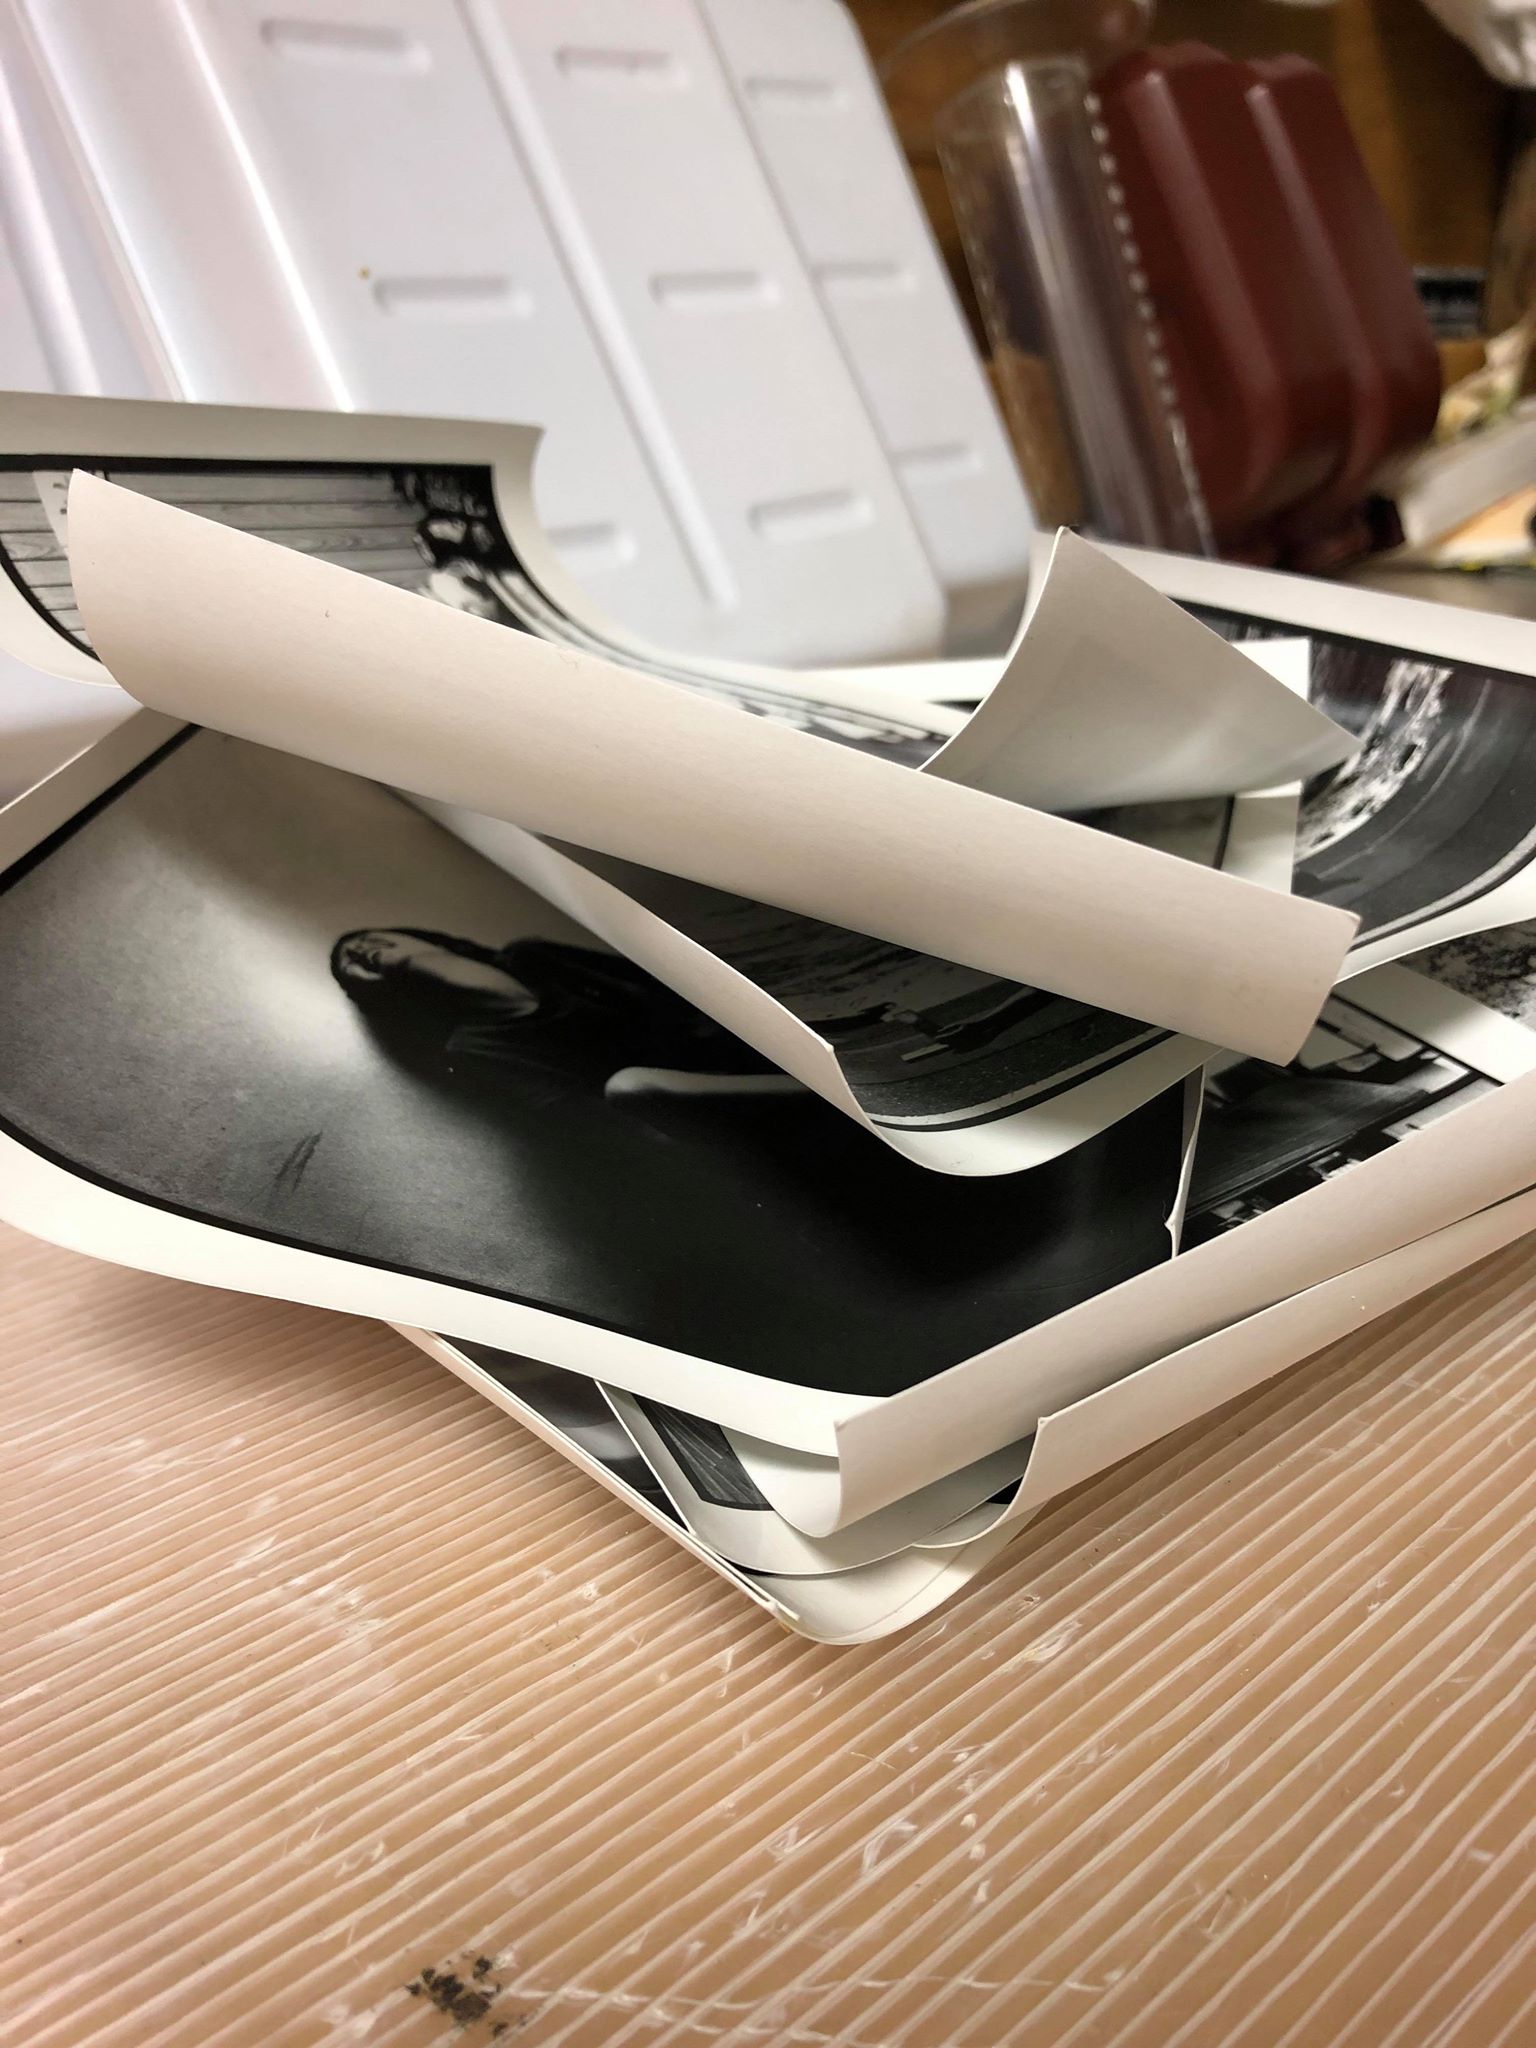


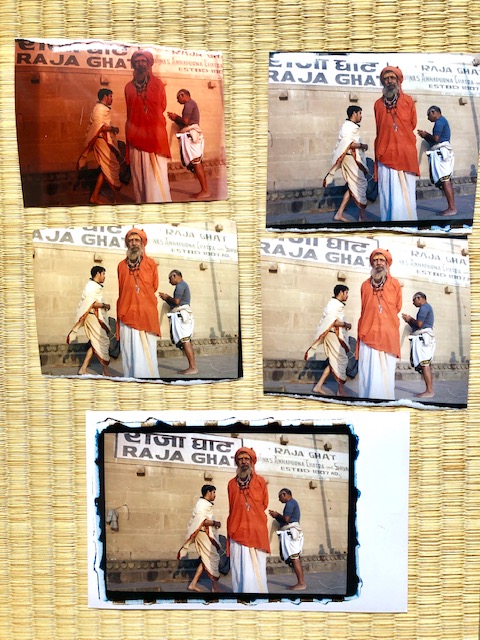

When I started developing my black and white film I was incredibly careful not to over / under develop even by a few seconds and to keep the temperature for the chemicals exactly at 20C for optimum results – as this is what I read on the internet while learning. As time went by I made mistakes and noticed that the results didn’t change as drastically as I thought they would and I realized I was just too nervous for no real reason basically. I no longer use a thermometer and I prefer to try things out on my own to dial processes in as they work best for me.
Black and white is a relatively common workflow that people do all around the world so there is plenty of information out there. With color darkroom work on the other hand it’s a lot fewer that do it and when looking for information you might see things like:
You MUST keep the temperature to 35C with a threshold of 0.5C + / - otherwise the world comes to an end.
You MUST be in total darkness and to check that you are you should stay put with the lights off for 10 minutes. If you still can’t see a thing, only then you are good to open the box of color paper.
You MUST use a color processor which requires at least 2Liters of chemicals for each bath.
You MUST mix the 10Liters of chemicals in one batch and have 4 weeks to use it up before it requires dumping and replacing.
You MUST have a color head on your enlarger. How could a black and white old condenser enlarger from the 50’s even be considered? Ridiculous idea….
Having gone through a lot of black and white work I was really itching for a taste of the color darkroom printing but I knew if I had to go down the route of buying a processor, keeping temperatures so high and having a totally light tight darkroom, it’ll be impossible for me. I started searching but very little info came up with regards to printing without a processor at room temperatures so I decided to try things out on my own. I was lucky to bump into a gentleman on a FB group who shared a few tips with me that got me started.
I now print color at home and it’s really simple after all. I bought some color filters for my black and white condenser enlarger, it has a set of 21 filters, 7 sheets for each of the 3 colors which allows you to filter the out-coming light exactly the way a color head does. I mix 250ml of developer at a time which I can reuse for 2-3 sessions, when the developer starts to turn dark brown, I toss it. I mix 500ml of the blix and keep using it for weeks. I created lids for the developer and blix trays so they wouldn’t oxidize as much as they would otherwise if open, this seems to keep them alive longer. And guess what? Printing at 18C is just fine, you just have to keep the print in the solutions longer. I develop for 2 minutes, stop for 30 seconds and then blix for 2 minutes. 15-20 seconds after the paper is in the blix you can turn the lights on and see the paper in the tray like you would with black and white.
I also use a pre-wet bath for 30 seconds before I develop, this eliminates color shifting when developing at low temperatures. I compared prints I made in trays at room temperature with ones I printed with a processor at 35C and there’s no difference what so ever.
It's true you need darkness and I print without a safelight on; however, my darkroom isn’t totally dark. I have a few leaks by the doors and my timers all emit a little light which allows me to see a tiny bit – just enough to prevent me from dropping the paper into the wrong tray. I tested for paper fogging and I noticed nothing even after I kept a clean sheet of paper out on my workbench for 5 minutes.
3. How would you describe your photos? What do you try to achieve?

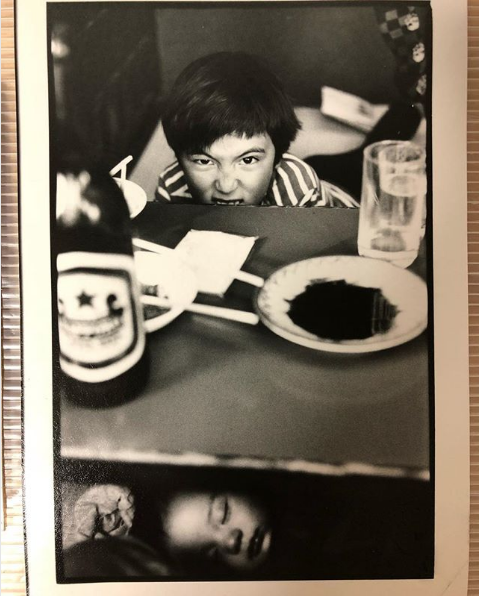

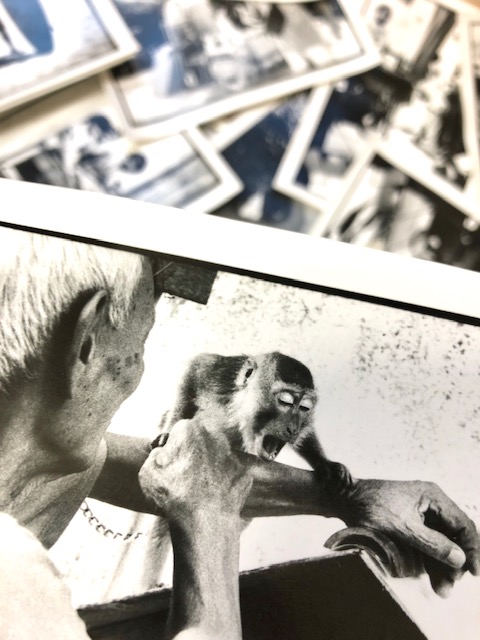

This is a hard question, I think I am not trying to achieve anything in particular, I just like shooting and printing the photos even more.
Looking back at my pictures I am definitely more attracted to people than landscapes, I also prefer to shoot in places that aren’t polished up for tourists. I am lucky in a way that my job requires me to travel and I always make sure I have my camera with me and enough rolls of film to get me through the trip. I often leave my hotel an hour or two before work begins and roam the small side streets with my camera at hand.
I do not work on any projects at all and just shoot when I feel like it.
4. How many rolls of film have you shot in your life and can you describe your cataloging system?
I am on roll 471. I use a site called “filmtrackr”, it allows me to keep some basic notes of the rolls I load. I number my films using 4 digits (currently 0471) that I write on the leader of the film before loading and also register it from my phone to the above mentioned site. The site allows me to keep information like locations where I shot etc., when I search for say photos of Malaysia, I can easily find the related rolls without much effort.
I also keep a contact scan – the only non-analogue process in my workflow – of each roll which I upload to a cloud and can access from anywhere using my phone. Finding a single shot from all my rolls of film is rather easy this way, I search for the keyword on filmtrackr which gives me the roll’s number, I look up the contact scan on my phone and then it’s one of 36 shots.
I keep my negatives in ordinary negative binders, each holding 100 rolls.
I also keep notes on the back of my prints with a 10B pencil which is very soft, allowing me to write on the paper without using any pressure and also survives the developing process. I just write the roll – frame number / paper type / aperture / exposure and dodging – burning details. Once the prints are dry I decide what to keep and the keepers I register in an excel file – basically transferring the info from the back of the prints to excel. If I ever lose a print, it’ll be very easy to reproduce without much trial and error.
5. What advice do you have for people who want to begin darkroom printing?
My advice is to start small and see where it takes you. It’s very simple and rather cheap these days with the abundance of used darkroom gear on the market so the investment won’t break the bank.
Definitely start with black and white as it’s simpler than color. Look for a place at home you can make dark, bathrooms are usually a good start. Get a small enlarger which you can easily pack away when not needed, 4 trays (1 for water to keep prints), a few bottles to keep your chemicals and a red light (such as a dollar store bicycle rear light) and get started. A timer and focuser are also nice but not an absolute necessity.
Once you see the first print showing up in your trays you’ll be hooked, guaranteed. You can even sell your expensive film scanner and get a nicer setup later down the line, I’ve done exactly that :)
6. What are your tools for shooting and printing?
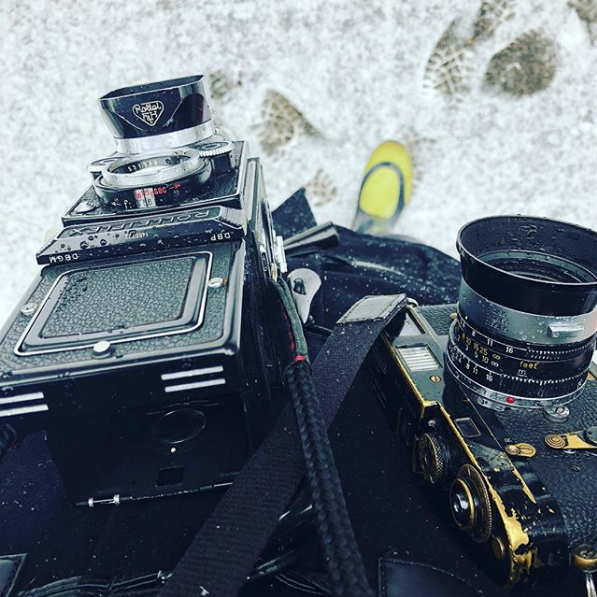
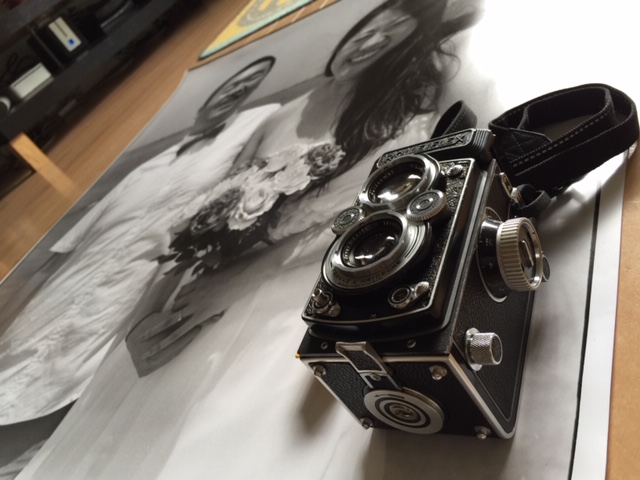
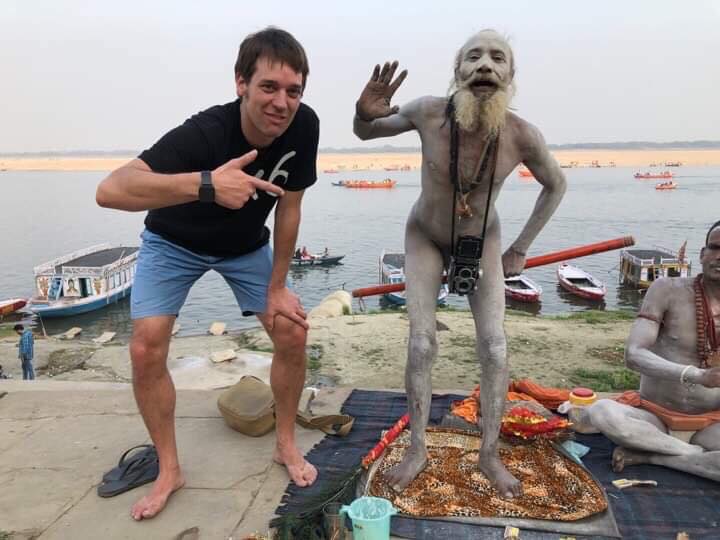
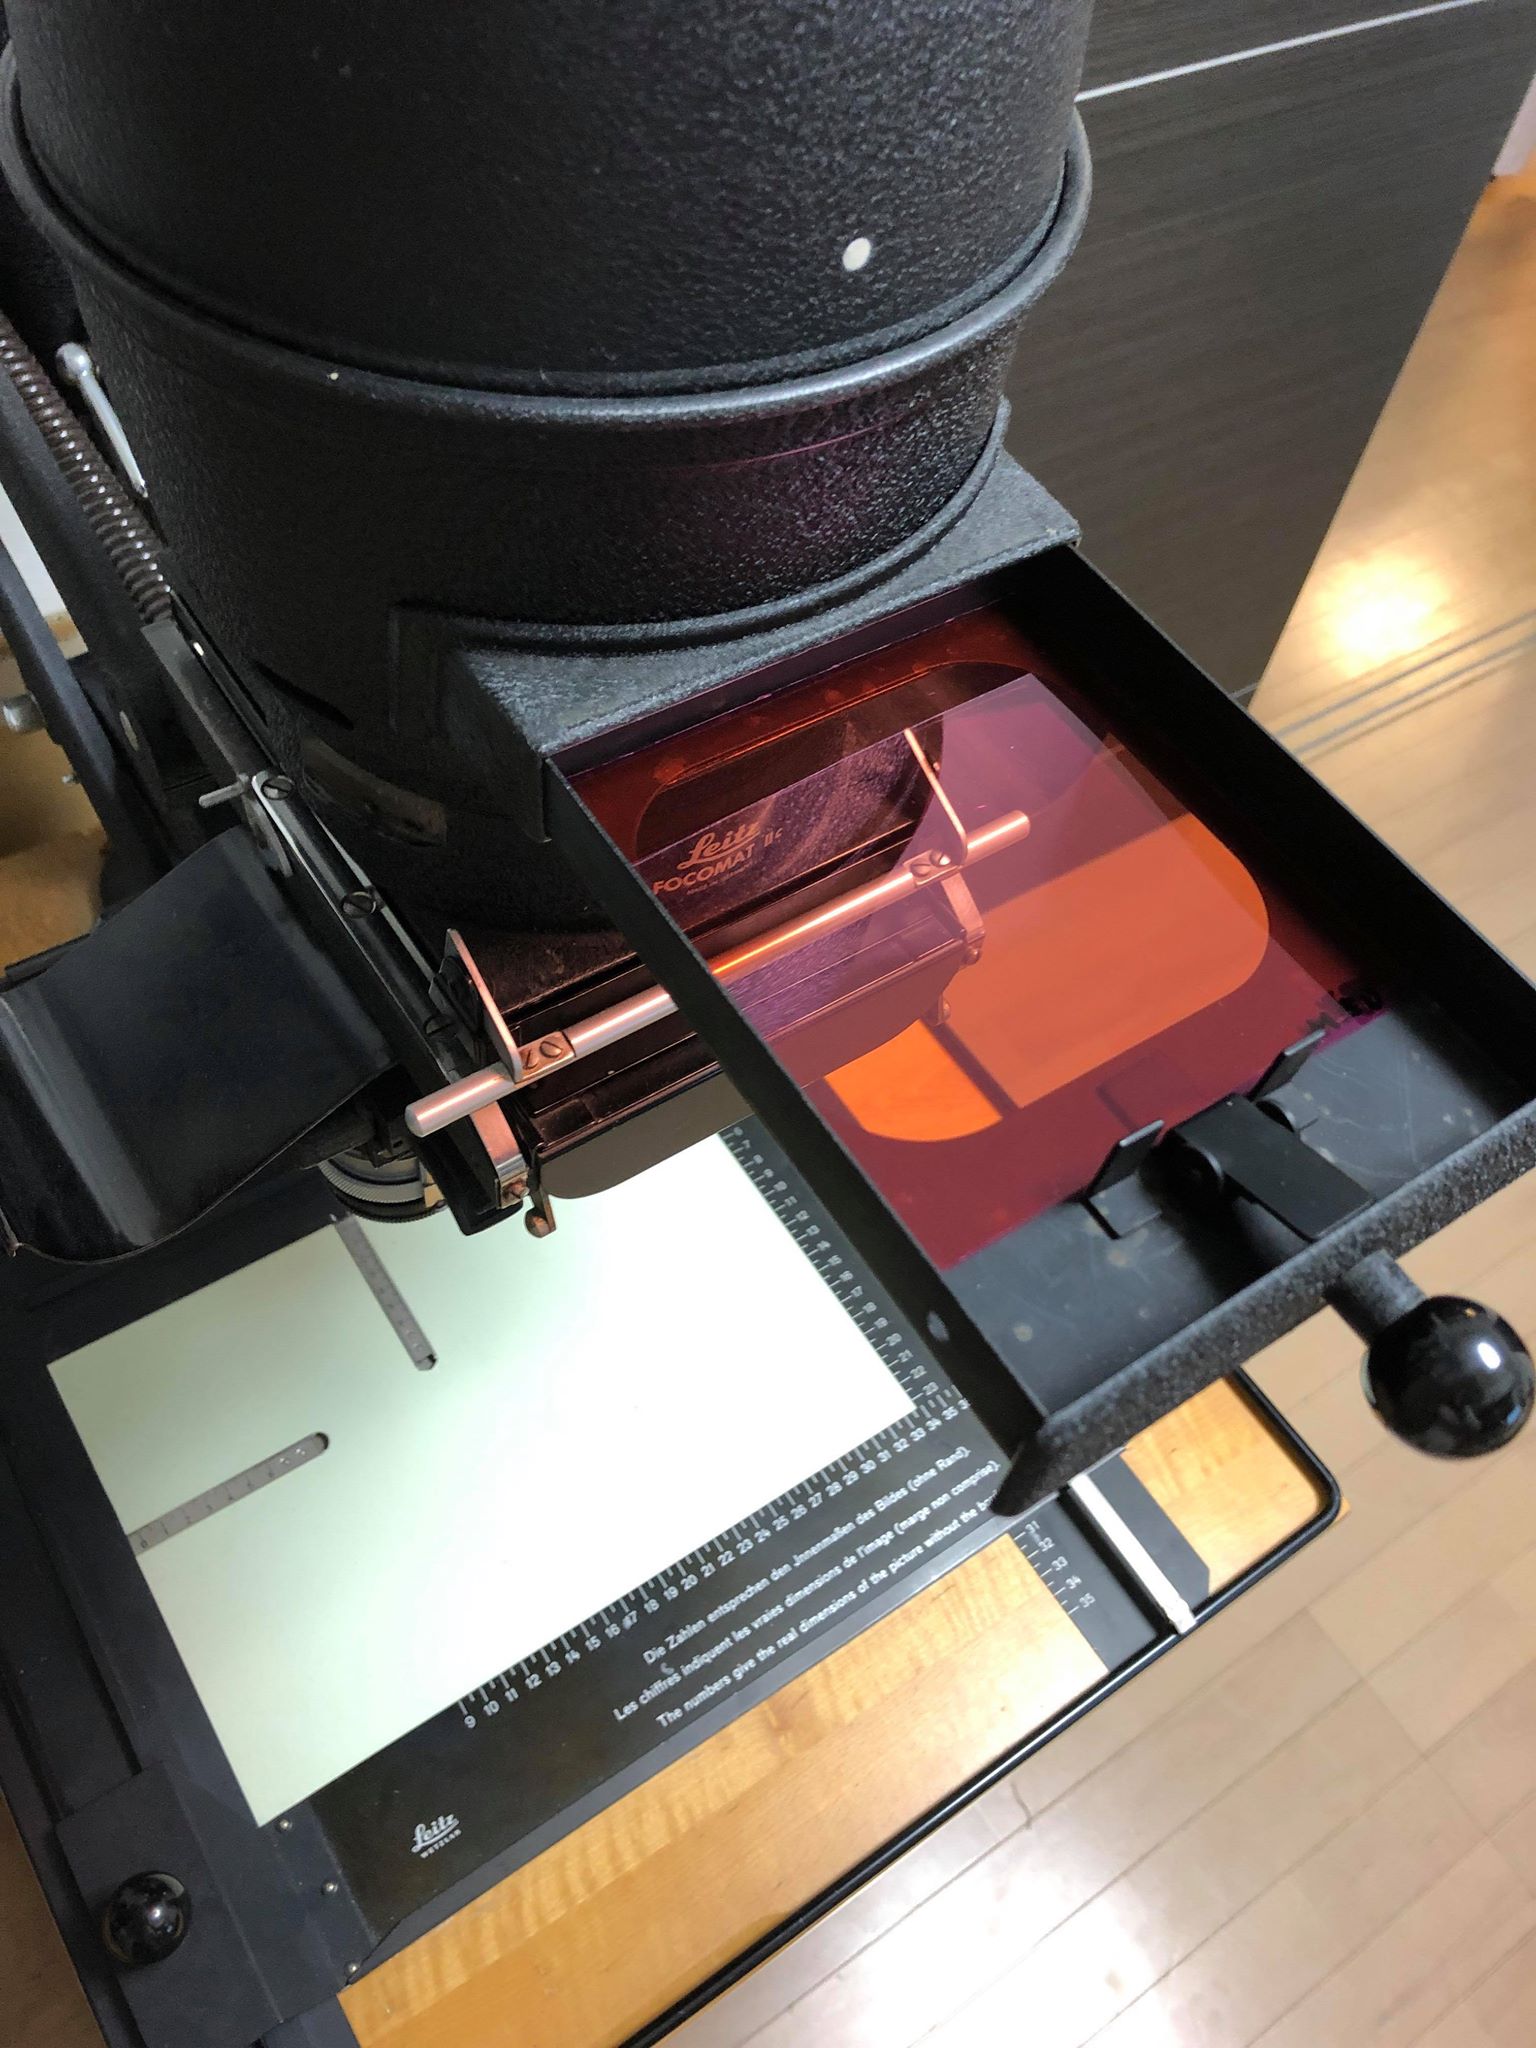
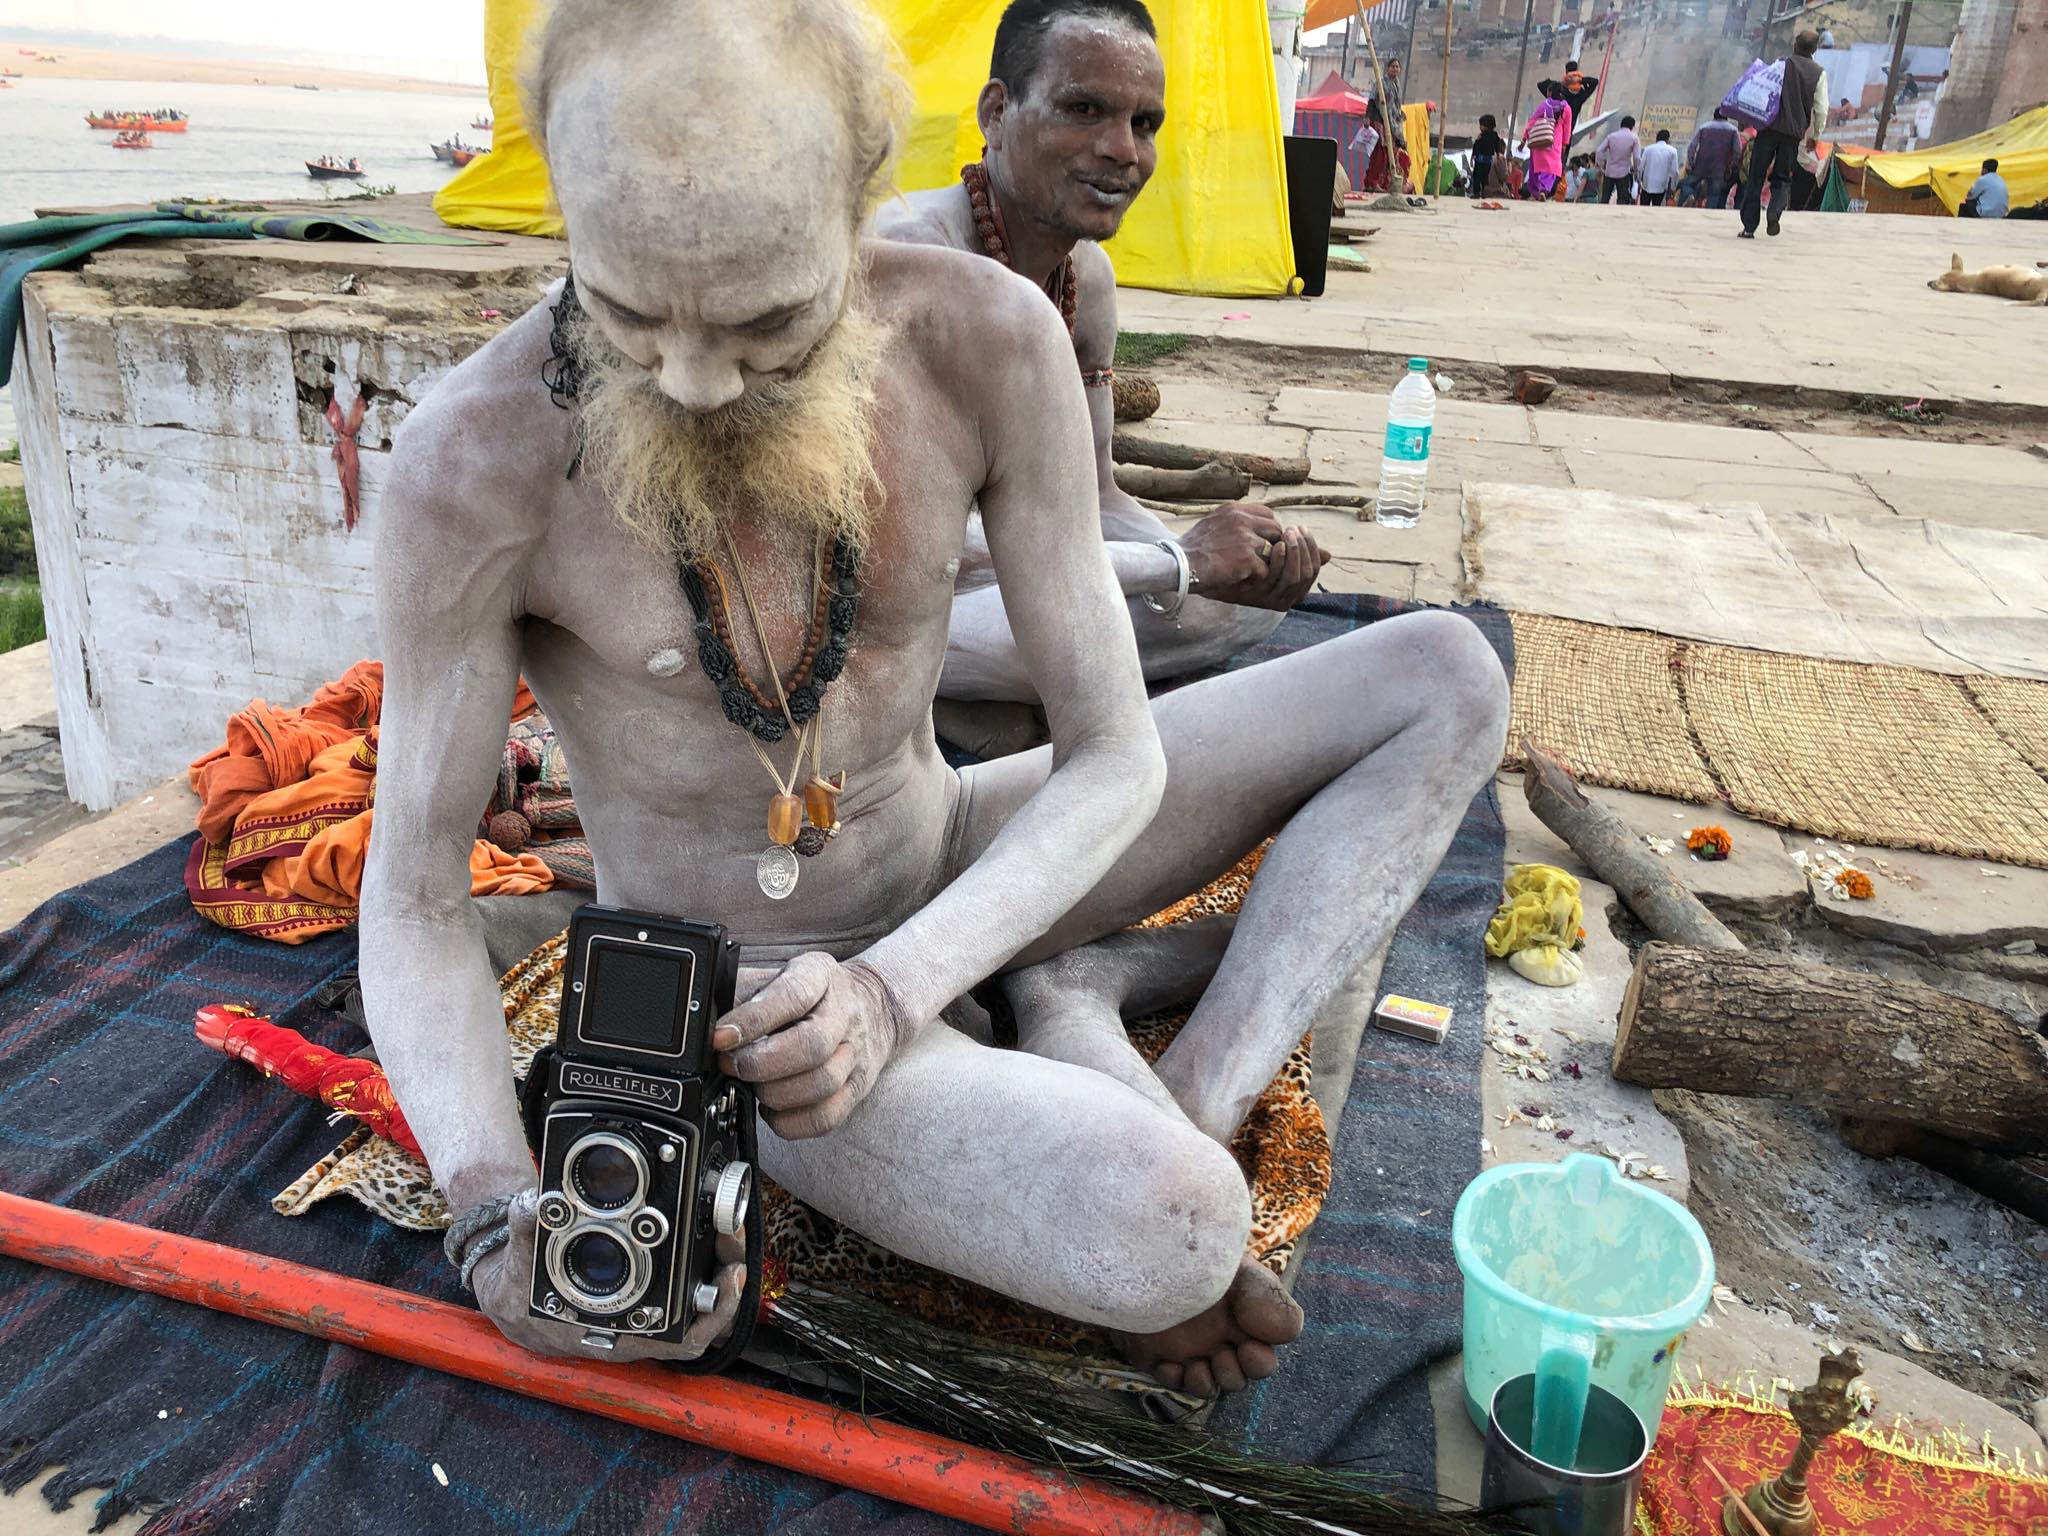
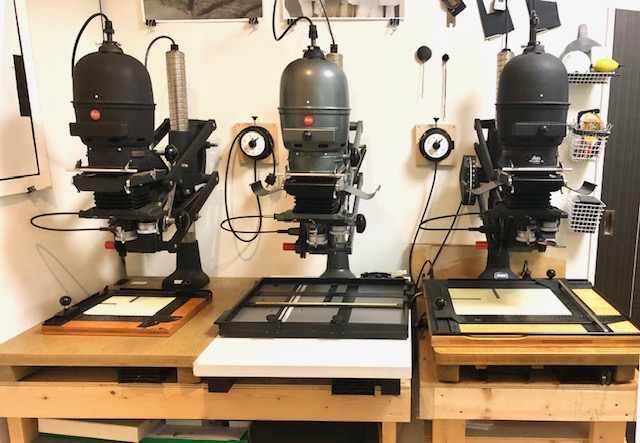
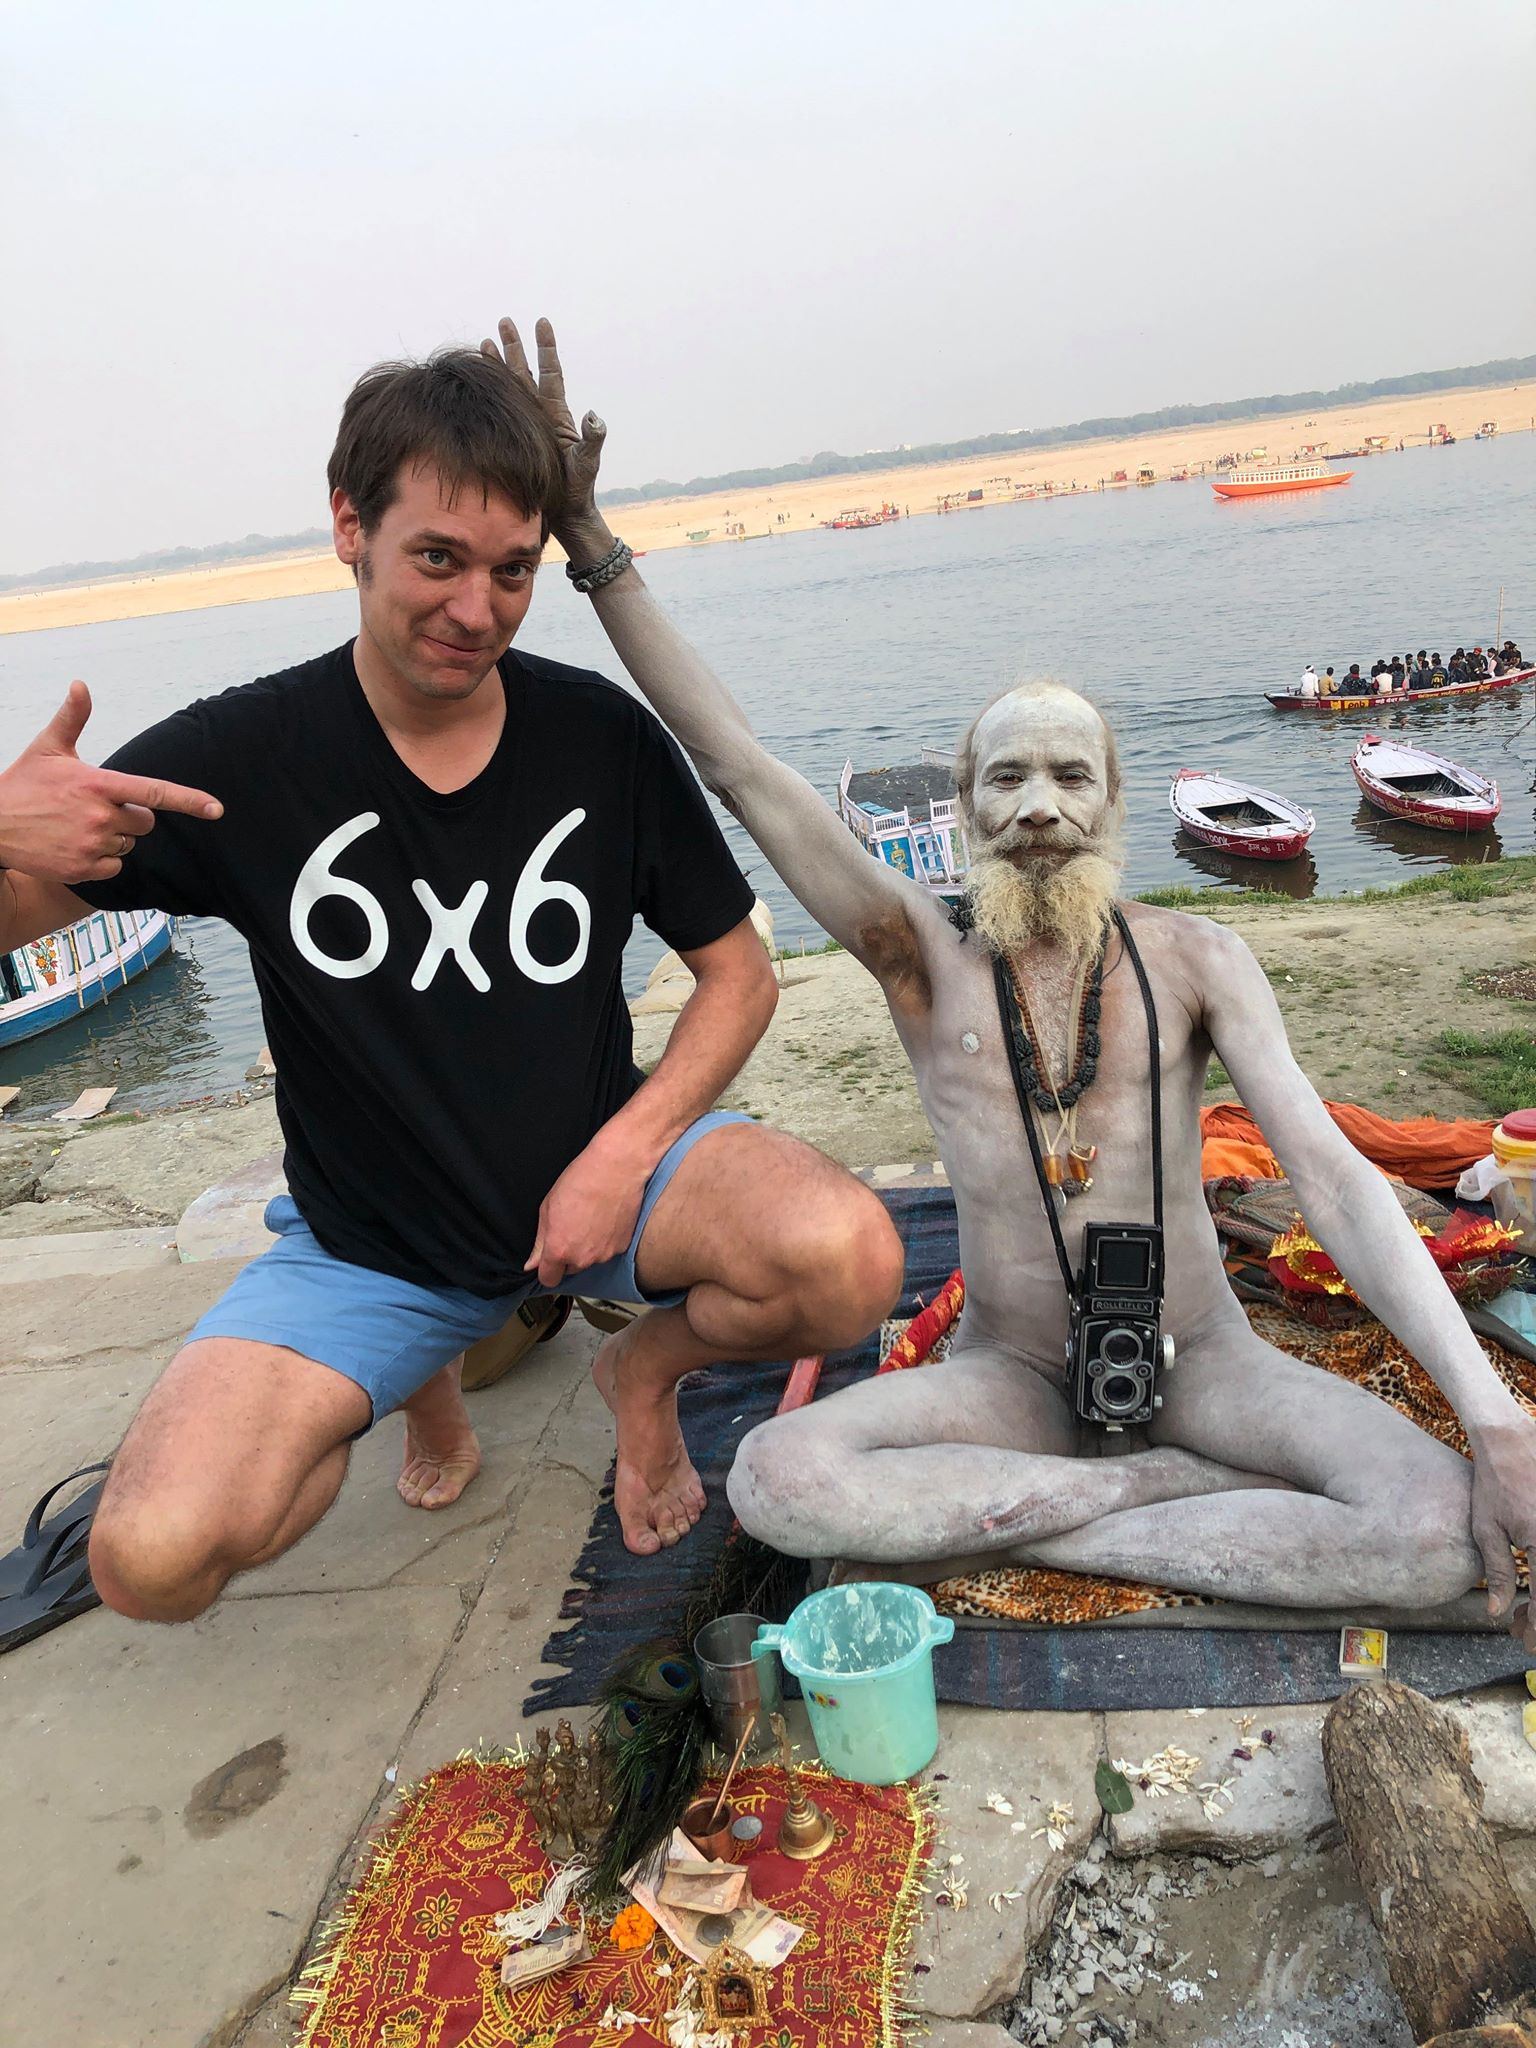
I guess I am an idiot in a way but I need to be in-love with the things I use to enjoy and I’ve gone through quite a few cameras / enlargers until I got to my current setup. Since then It hasn’t changed for 2 years now and I don’t foresee it ever changing either. For 35mm, I shoot with an old banged up black Leica M2 which I had gotten fully restored and I print with a first version Focomat IIc which I restored myself to its former glory. Rolleiflex 3.5 is my go to medium format toy which I am trying to use more often these days, I just love seeing those big negatives on a light pad. I also find 6x6 being such a forgiving format, while I keep turning my Leica to see if portrait or landscape works better, the Rollei is square which takes care of the headache right there.
I really don’t like variables and as such my setup is very simple, one camera for each format, one film (Kodak XX) and oner developer (Rodinal). I never change anything to keep things simple, always shoot at 1600, basically pushing my film 3 stops. I was very lucky a few years back while on a trip home to Hungary, I found an unopened carton of Forte paper at a lab that was shutting down and ever since I print on that. It’s grade 2 from factory but as it’s aged (30 years old now..) I guess it is more like grade 1.5 which works perfectly fine for my overly pushed films.
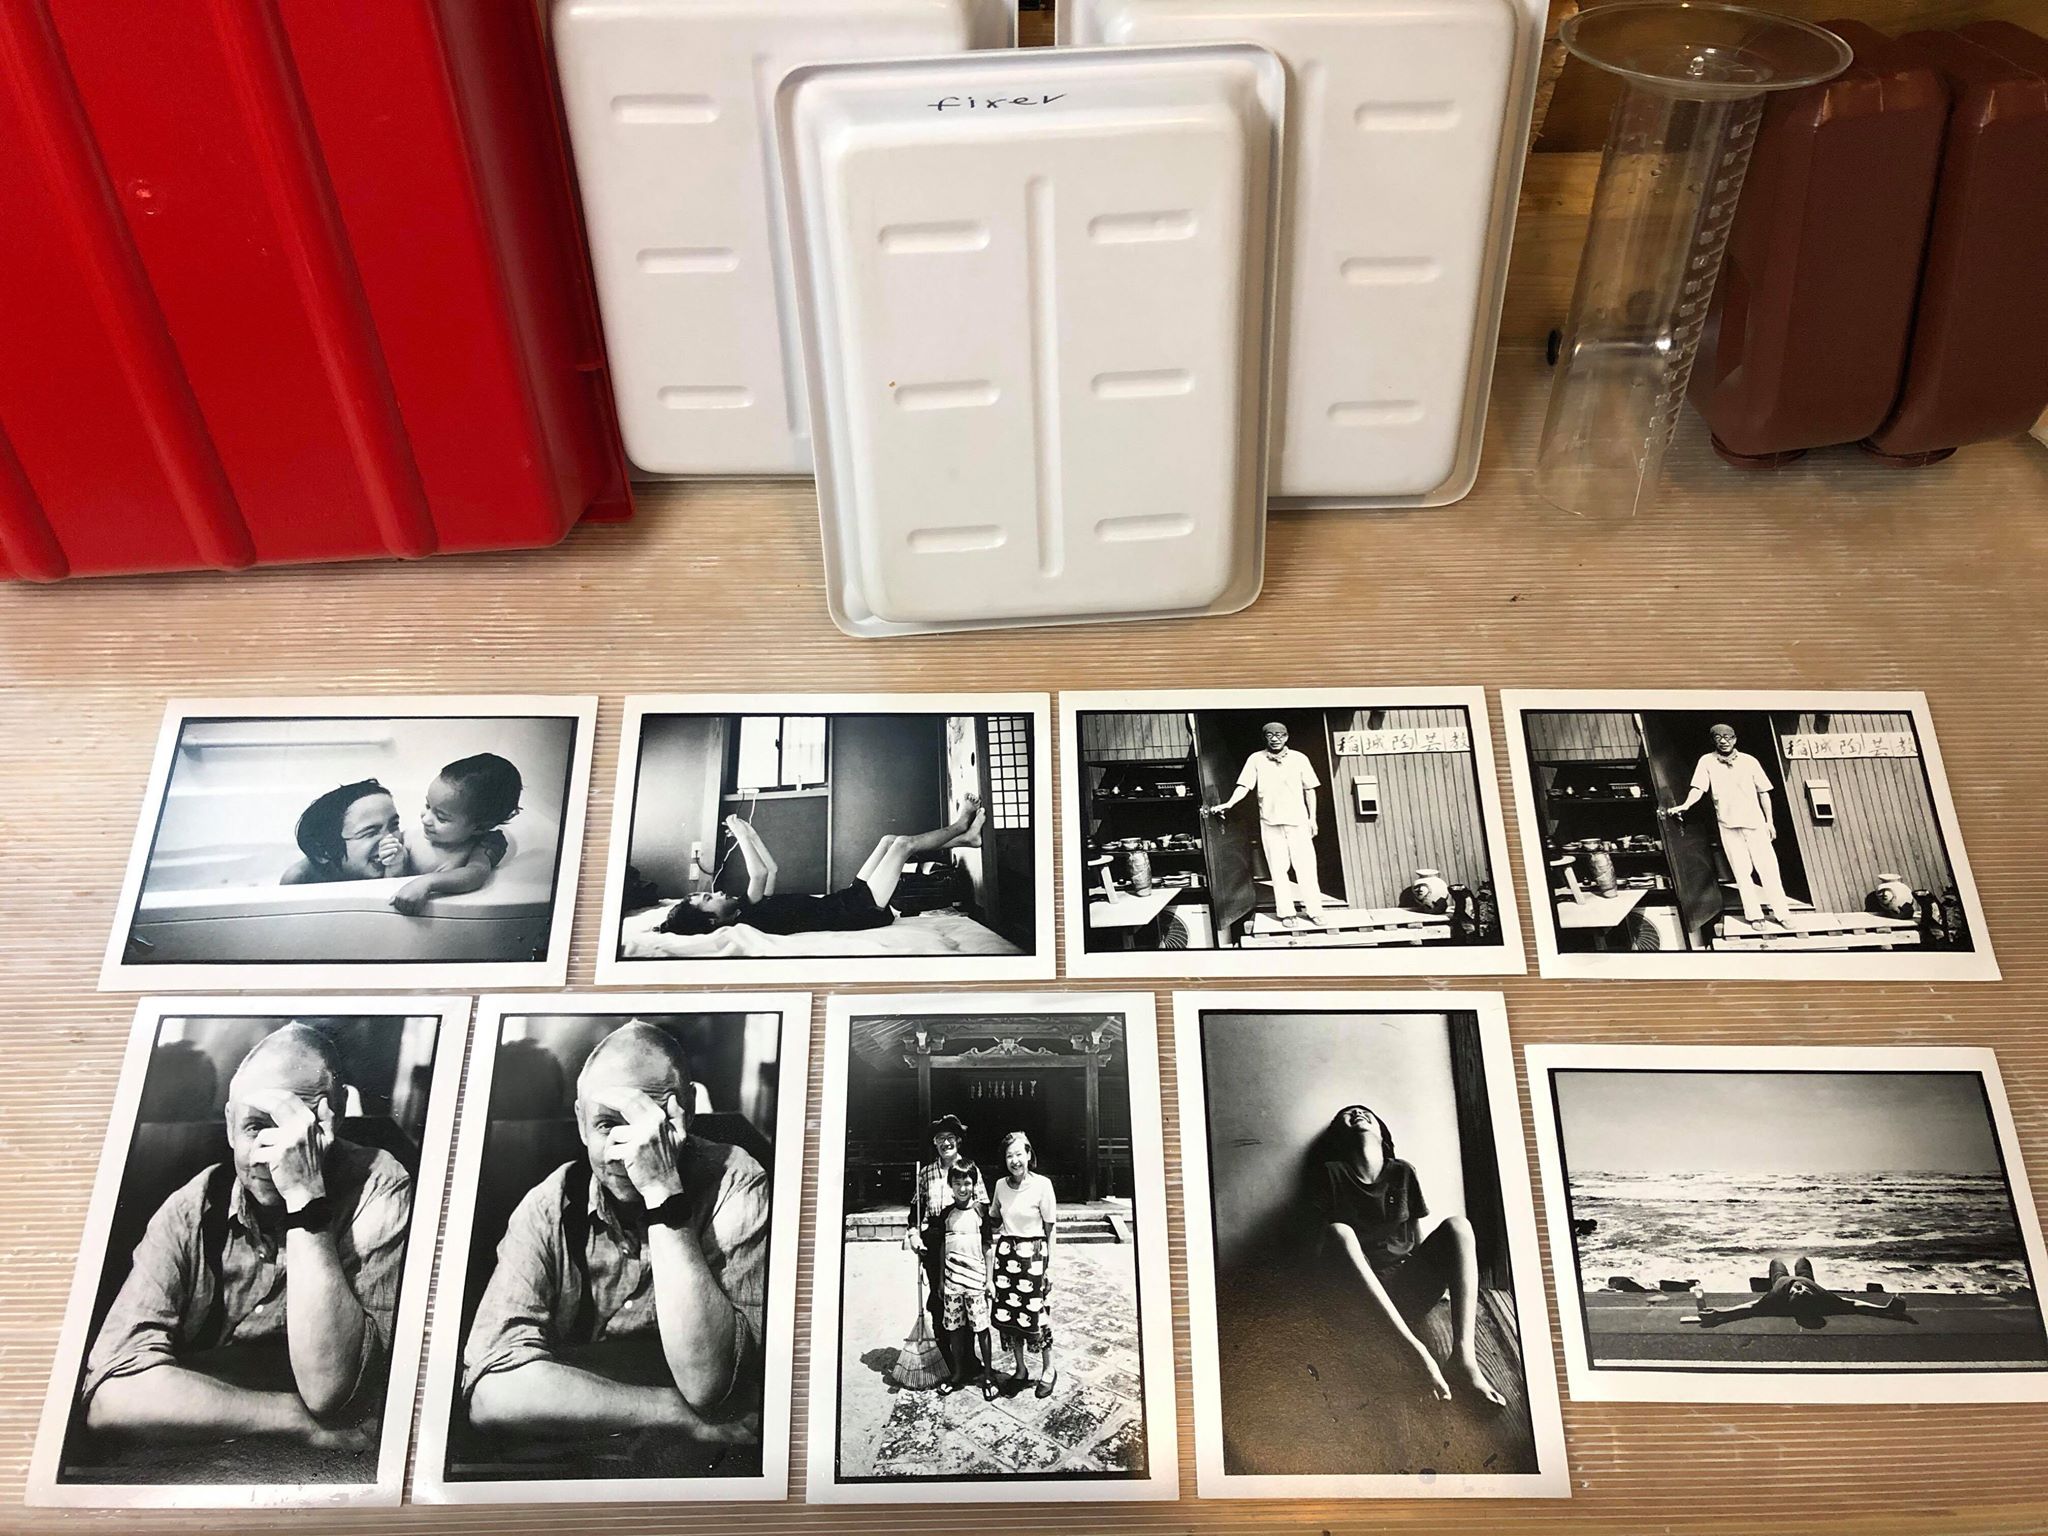
Some people find the joy in changing cameras like they change clothes, shooting 10 different types of film and using 5 different developers. For me the fun part is seeing the end result showing up in my fixer tray and to get consistent results, I stick to my simple setup.
End.
Ben, thank you for your time and we look forward to seeing your shots from roll 472!.
Follow Ben’s adventures in the darkroom here: @darkroom.tokyo
